It's been quite a while since I last featured a recipe in my blog. Today I share with you on how to do an awesome pepper pork chop.
We start with some nice pork steaks. I think best part of the pig for chops is the shoulder. The pork shoulder steaks pictured below were from Jaya Grocer (non-halal section). They were fresh, nicely cut and reasonably priced.
First, we brine the meat. Brining is soaking the meat in salt water. It is an important process in my recipe and unless we do it properly, the chops will not turn out as juicy and delicious. We prepare the brine solution with 3 tablespoons of salt in 3 cups of water. You can use any kind of salt - cooking salt, table salt or coarse sea salt. Immerse the meat in the salt water and keep it in the fridge for about 4 hours. It is important to keep the meat refrigerated during the entire brining process.
At the end of the 4 hours, remove the meat from the brine. After the brining, the meat is redder in colour and firmer in texture.
Do not wash the meat. Sprinkle ground black pepper on both sides of the meat. Then return the meat into the fridge for another hour. This seasons the meat and allows it to dry.
After an hour, the meat is ready to cook. Pre-heat the oven to a temperature of 200 degrees Celsius.
In the mean time, heat up a wok or pan at medium flame. Put in a scoop of butter.
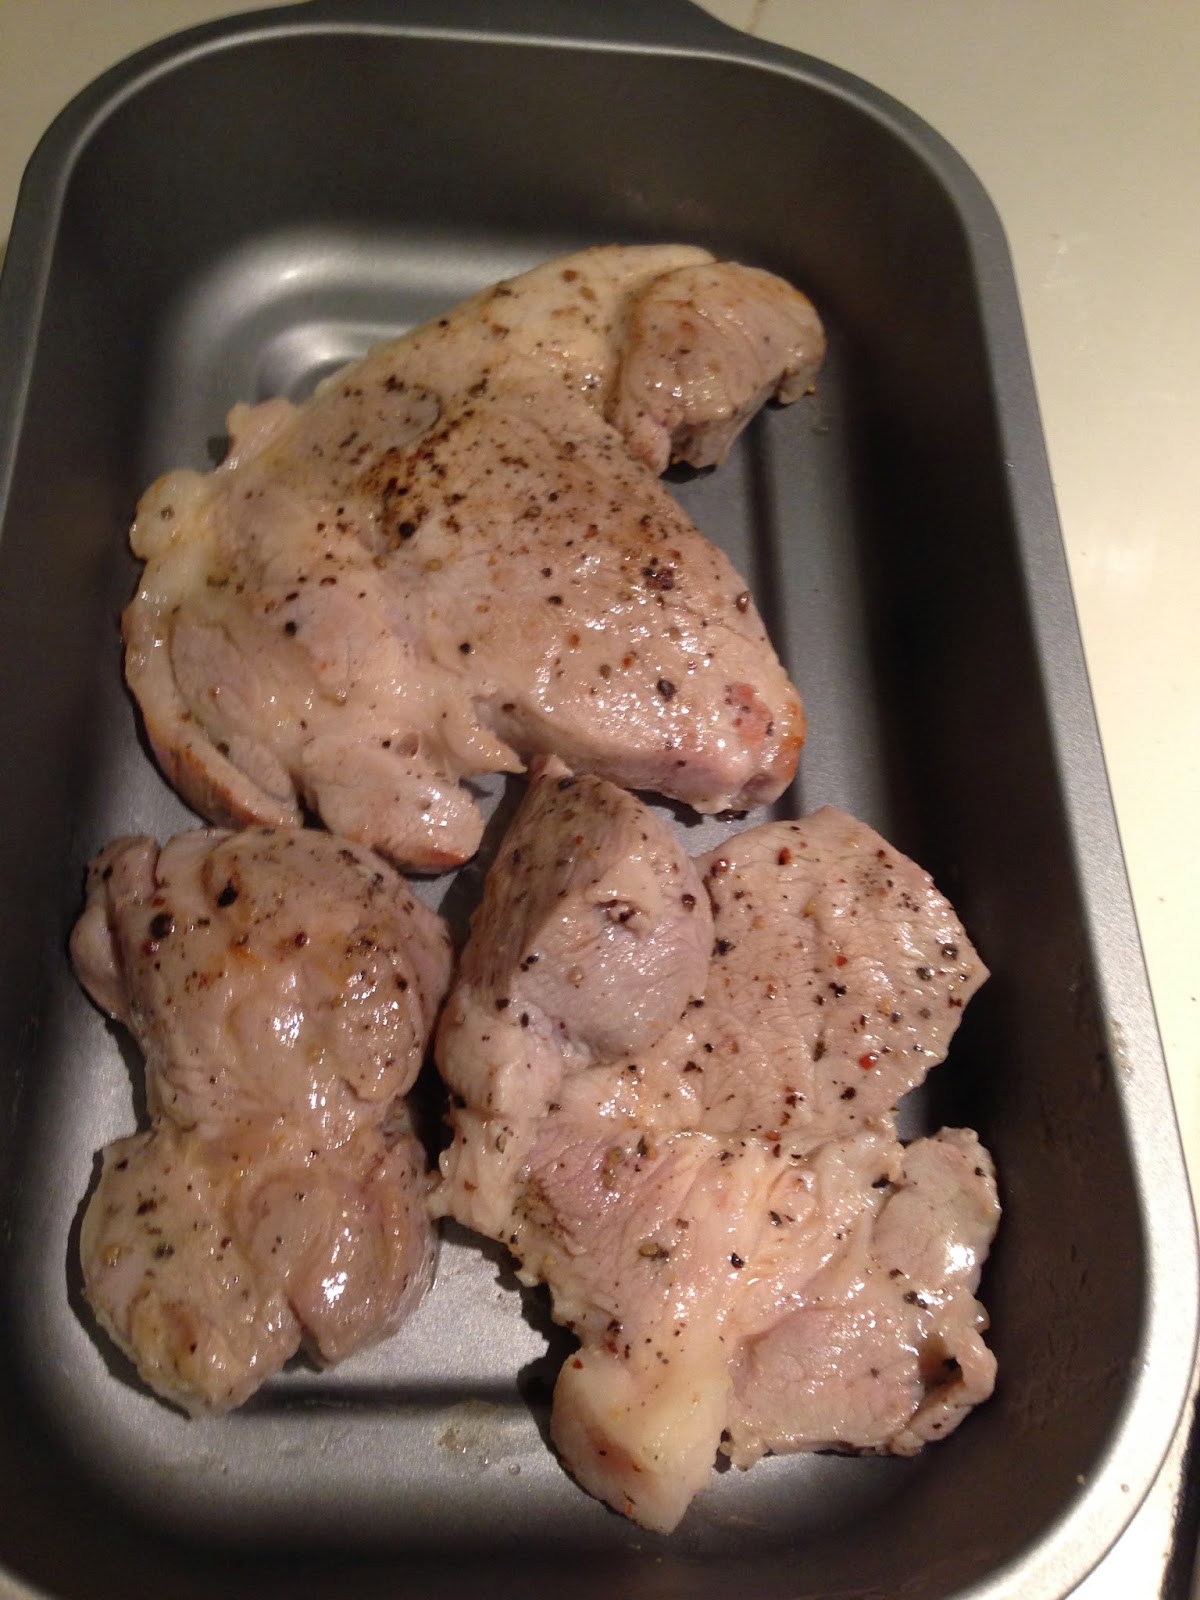
Lightly fry the meat in butter for 2 to 3 minutes on each side.
Until it is like so.
The meat is then cooked in the oven at 200 degrees Celsius for 30 minutes.
The outcome is a gorgeous juicy chop.
This is a bottle of peppercorn sauce that Alan bought for me from Australia. It is fabulous and suitable for all kinds of meats and fish. We probably won't find it in Malaysia. You could use any other black pepper sauce to your liking.
We have the chops with some salads and fries. My wife loved the meal. It was the first time I had seen her finish such a big piece of meat.
The "secret" in this recipe is the brining. It provides the necessary moisture to the meat to make it juicy and succulent. The salt made it so flavourful, yet not the least salty. The recipe is simple and the reward is absolutely delicious. Enjoy.
Showing posts with label Recipe. Show all posts
Saturday, January 17, 2015
Monday, June 04, 2012
Lup Lup
This is an old family recipe that I picked up from my late mother. It is a humble dish that I enjoy very much. I do not know if there is a name for this dish. My mother just called it lup lup in Cantonese (粒粒- which means grains or small pieces). I also do not know if other Chinese families cook this at home. Besides from my late mother and now in my own home, I have not been able to find this dish anywhere else.
The ingredients are many. And as my late mother described them, they are all in small pieces. We start with some kacang - ground nuts. Plain fry the kacang in a wok. Do not use any oil. Just throw the nuts in a hot wok and fry them until they are dark brown - even a bit blackish. Then leave the nuts to cool.
Next , remove the skins. This is the hard part. I found it very difficult to separate the skins from the nuts. It is a very messy task. I have hunted around the shops (including those Japanese places that sell clever domestic devices) and I have yet to come across an apparatus that can be used to de-skin fried ground nuts. If you know of any, please leave a message in my blog. In any case, I learnt from SP's maid that if throw some salt in while frying the nuts, the skins would separate easily. I tried it and it did help somewhat. After de-skinning, keep the kacang in an airtight container.
Other ingredients - a small piece of roast pork, cut into small pieces like so.
Some choy po (菜甫- Chinese salted radish), likewise into small pieces.
Some dried shrimps.
A carrot - also diced in small pieces.
2 red chilis.
About 10 strands of long beans. Try to get the hard thin type as shown in my pic - not the soft fatter variety.
Finally a piece of white tofu. Get the harder tofu, so that it can be easily cut and fried.
Now, it's time to cook. Heat some oil in a hot wok. Throw in the diced tofu. Fry the tofu until brown and crispy.
Dish out the fried tofu and keep aside.
If necessary, add a bit more oil in the wok and in goes the roast pork.
Followed by the dried shrimp.
And the choy po (菜甫).
Fry the 3 ingredients until aromatic and then add in the carrot.
And the long beans.
Stir the mixture and let it cook for a short while. Then add in some thick soya sauce for flavor and color. Do not add water as this is meant to be a dry dish.
Put in about half tablespoon of sugar.
Stir fry the good stuffs until cooked. Just before dishing out, throw in the tofu and chili.
Your efforts look something like this.
Just before serving, sprinkle the kacang on top of the dish. The ground nuts complement the other ingredients beautifully. I normally top up the nuts as we progress down the dish.
It is yummy munch munch munch - suitable with both rice and porridge. Enjoy.
Monday, April 18, 2011
Thyme salmon and sauce recipes
We were again at the Amcorp Mall flea market one weekend looking for herbs and other plants, and ended up buying 2 beautiful pots of thyme. One was a common thyme and the other was a lemon thyme. The have such a pleasant aroma. And they grow very well too.
I was wondering what to cook with it. It happened that we had some salmon in the freezer. I searched the net for thyme and salmon recipes. But I could not find anything I fancied. So I decided to improvise. I have 2 recipes here - one for the salmon and the other for the sauce.
For the salmon, prepare the marinade. You need one whole garlic minced.
2 tablespoons of shredded lemon peel, also minced.
And several sprigs of fresh lemon thyme. If you do not have a plant, it is going to be a little problem because like rosemary, we cannot readily buy fresh thyme from our markets. In which case, I guess dried processed thyme would suffice.
The fresh lemon thyme is likewise minced.
Mix all above in about half a cup of olive oil.
Add salt and pepper to taste.
Have the fresh salmon in a baking tray.
And rub the mixture on the salmon, and allow it to marinate in the fridge for 3-4 hours.
30 minutes before baking, remove the salmon from the fridge and pre-heat the oven to 190 deg C.
Bake the salmon for about 25 minutes at 190 deg C. Do not over bake the fish. The outcome is like this.
Now the recipe for the sauce. The ingredients are...
Half cup of olive oil.
3 tablespoons of soy sauce.
1 tablespoon of vinegar.
The juice of 1 lemon.
About 4 cloves of garlic, minced.
1 mid-size onion, also minced.
1 teaspoon each of dried basil, black pepper, oregano and parsley.
All above ingredients are mixed into a sauce. Do not serve immediately. Allow the sauce to marinate itself for at least 3 hours - the longer the better. The freshly mixed sauce does not taste good - it is rather acrid. But after standing for a few hours, it becomes mellow and is good not only for salmon but for other baked, fried or grilled fish. My family loves it.
I served my thyme salmon with some french fries, fruit salad and the wonderful sauce. It was a delightful meal.
Try it. Yummy.
Subscribe to:
Posts (Atom)